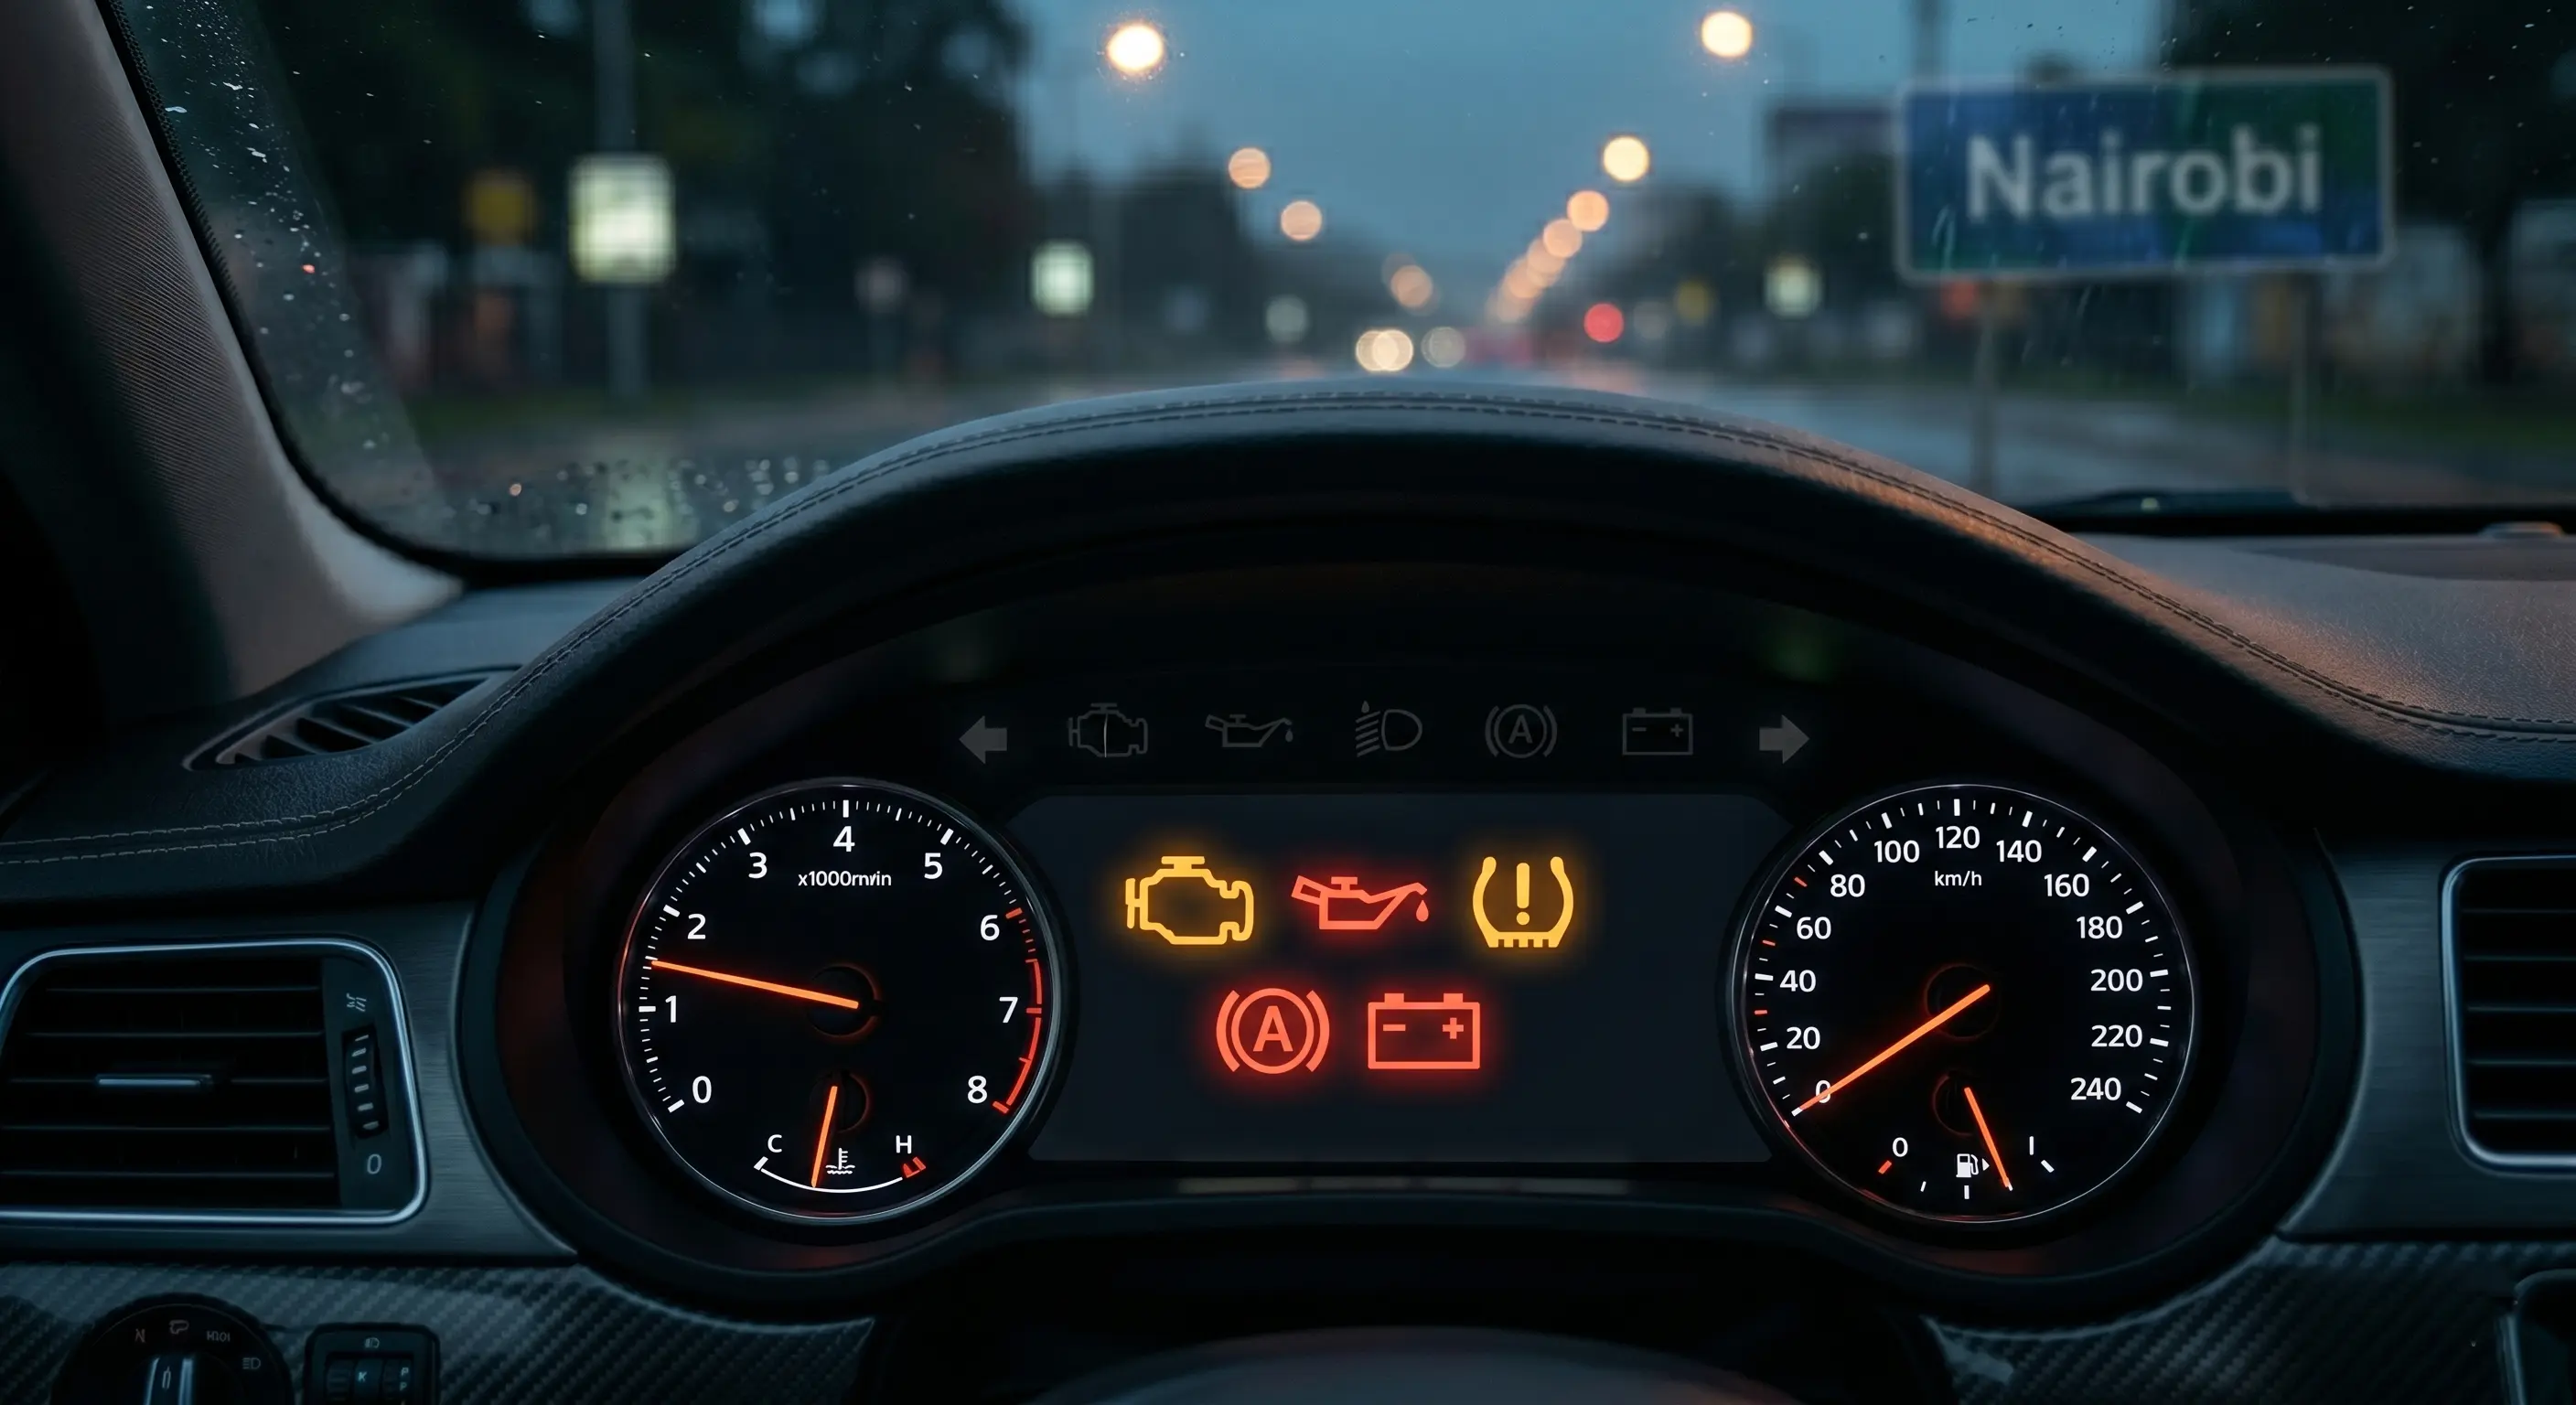
Most vehicle problems do not appear without warning. A tyre that goes flat on the Migori–Kisii road was low on pressure for two weeks before it failed. An engine that overheats in Nairobi traffic had a low coolant level for a month. A battery that dies during a morning school run had corroded terminals for longer than that.
A ten-minute monthly check catches these things while they are still simple to fix. It requires no mechanical training, no workshop visit, and for most of the checks, no tools beyond what you already have at home. What it does require is the habit of actually doing it.
This guide covers the eight checks our workshop recommends every driver carry out once a month. We have written them in the order we recommend doing them, starting outside the car and working inward, so you can move through the routine efficiently without backtracking.
Why a Monthly Check Makes Sense
Professional services happen every three to six months depending on your mileage and vehicle. A lot can change in that window, especially on Kenya's roads. Murram roads, speed bumps, heavy loads, dust, and heat all accelerate wear compared to the smooth tarmac conditions most service intervals were designed around.
Monthly checks do not replace professional services. They are the early warning layer between services. The goal is simple: find anything that is developing in the wrong direction and either fix it yourself (tyre pressure, fluid top-up) or book a workshop visit before the problem becomes a failure.
Before You Start
Park on a flat, level surface. You will need: a tyre pressure gauge (available at most Kenyan petrol stations for under Ksh 500 and worth buying), a clean dry rag, and good lighting. That is all.
The engine should be cold or have been off for at least 10 minutes before you check fluids. Hot engines give misleading fluid level readings and pressurised coolant systems can cause burns if opened while hot.
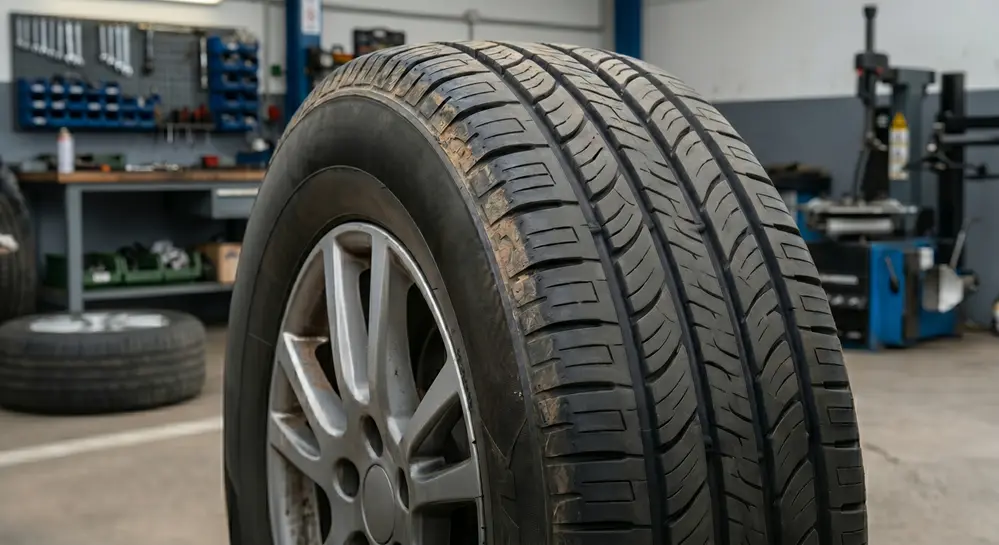
1. Tyre Pressure
Tyre Pressure
~2 minutes · Tyre pressure gauge requiredTyre pressure is the single most impactful thing a driver can monitor themselves. Under-inflated tyres increase fuel consumption, cause uneven wear, reduce handling accuracy, and raise the risk of a blowout under load. Over-inflated tyres reduce the tyre's contact patch with the road, reducing grip and making the ride harsher.
On Kenyan roads – murram surfaces, loaded vehicles, high ambient temperatures – tyre pressure fluctuates more than on smooth tarmac in mild climates. Monthly checks are the minimum; check more often if you drive on rough roads or carry heavy loads regularly.
How to Check
- Find the recommended pressure for your vehicle. It is printed on a sticker inside the driver's door jamb or in the owner's manual. Front and rear tyres often have different recommended pressures.
- Remove the dust cap from the tyre valve (the small rubber or metal stem protruding from the wheel).
- Press the gauge firmly and squarely onto the valve. A short hiss is normal; if it persists, reposition the gauge for a better seal.
- Read the pressure on the gauge. Compare to the door jamb specification.
- Top up at a petrol station if low, or release a little air with the pin inside the valve if over-inflated. Replace the dust cap.
- Repeat for all four tyres and the spare.
Red Flags to Watch For
- One tyre consistently losing pressure between checks – indicates a slow puncture or faulty valve; book a repair
- Visible sidewall bulge or cracking – do not drive on this tyre; replace immediately
- Tread depth below 2mm (place a matchstick in the groove – if the head is covered, you still have tread; if it is fully visible, the tyre needs replacing)
All tyres within 2–3 PSI of the door jamb specification. No visible damage. Tread clearly visible across the full width of the tyre.
Any tyre consistently low, visibly damaged, or with worn tread warrants immediate attention.
2. Engine Oil Level
Engine Oil Level
~1 minute · Clean rag requiredEngine oil lubricates, cools, and cleans the engine's internal components. Running consistently low on oil accelerates wear and can trigger the oil pressure warning light in the worst case – which requires you to stop immediately. Monthly checks let you top up gradually rather than dealing with a critically low level at a bad moment.
How to Check
- Ensure the engine has been off for at least ten minutes and is on level ground.
- Open the bonnet and locate the dipstick – it typically has a brightly coloured handle (yellow, orange, or red) and is labelled with an oil can symbol.
- Pull the dipstick out fully and wipe it clean with your rag.
- Reinsert it fully, push it all the way down, then withdraw it again.
- Read the oil level. It should sit between the MIN and MAX marks. Note the colour of the oil on the stick.
Red Flags to Watch For
- Level at or below MIN – top up with the correct grade immediately (check the oil filler cap or owner's manual)
- Oil that is pitch black and gritty – overdue for a change
- Oil that appears milky or frothy – coolant contamination; this is serious, book a workshop visit immediately as it may indicate a failing head gasket
- Level dropping significantly each month – the engine is burning or leaking oil; needs investigation
Level between MIN and MAX. Oil appears dark amber to dark brown, clean and fluid on the stick. No unusual smell.
Milky appearance or significant level drop warrants a same-week workshop visit.
3. Coolant Level
Coolant Level
~30 seconds · Eyes onlyThe cooling system maintains your engine's operating temperature. Coolant is a closed loop – it should not disappear. A reservoir that is consistently low means coolant is leaking from somewhere, even if there are no visible puddles under the vehicle (some leaks only occur under pressure, when the engine is running and hot).
How to Check
- Locate the coolant reservoir – a translucent plastic bottle near the radiator, typically with a coloured cap labelled "coolant" or with a temperature symbol.
- Check the level against the MIN and MAX marks moulded into the side of the bottle. You can see the level without opening the cap.
- If the level is low, top up with the coolant type specified for your vehicle. Do not mix coolant types or add plain water as a permanent fix.
Red Flags to Watch For
- Reservoir consistently low despite topping up – there is a leak; needs workshop investigation
- Coolant that appears rusty or has floating debris – the system needs flushing
- White residue around hose connections or the radiator cap – signs of a past seepage point
Level between MIN and MAX. Coolant is bright in colour (typically green, blue, or pink depending on type). Reservoir cap and hose connections show no white residue.
Consistent drops in level, contaminated coolant, or visible residue around connections should be investigated at the next service or earlier.
4. Brake Fluid
Brake Fluid Level
~30 seconds · Eyes onlyBrake fluid transmits the force from your foot on the pedal to the brake callipers at each wheel. Low brake fluid has two causes, both of which require attention: worn brake pads (as pads wear, the callipers extend further, pulling fluid from the reservoir) or a hydraulic leak. In either case, a low brake fluid level is not something to ignore or simply top up without investigating the cause.
How to Check
- Locate the brake fluid reservoir on the engine side of the firewall, typically near the driver's side. It is a small translucent bottle with a rubber cap labelled "brake fluid" or with a circle-and-exclamation symbol.
- Check the level against the MIN and MAX markings on the side of the reservoir. You can see the level without opening the cap.
- Do not open the cap unless you need to top up – brake fluid absorbs moisture from the air and should be exposed as briefly as possible.
Red Flags to Watch For
- Level at or below MIN – top up with the correct fluid type (DOT 4 for most Kenyan vehicles; check the cap) and book an inspection to find out why it is low
- Fluid that appears dark brown or black – brake fluid should be clear to light amber; dark fluid is contaminated with moisture and is overdue for a change, which reduces braking effectiveness
- Spongy or soft feel to the brake pedal – air has entered the hydraulic system; requires immediate workshop attention
Level between MIN and MAX. Fluid appears clear to light amber. Brake pedal feels firm when pressed.
Any drop in level, dark contaminated fluid, or a spongy pedal should be investigated at the workshop promptly.
5. Exterior Lights
Exterior Lights
~1.5 minutes · Another person helpsA blown headlight, tail light, or brake light is not just a traffic offence under Kenyan road regulations – it is a genuine safety risk, particularly at night on roads without street lighting. Bulb failures happen gradually and drivers often do not notice their own lights until stopped by traffic police or told by another driver.
How to Check
- Switch on the headlights and walk around the vehicle to check all four corners. Look at main beam, dipped beam, and position lights.
- Switch on hazard lights and verify all four indicators are flashing at the same rate. A noticeably faster flash on one side indicates a bulb failure on that side.
- Ask someone to stand behind the vehicle while you press the brake pedal – verify both brake lights illuminate. Alternatively, park close to a wall or garage door and check the reflection.
- Reverse a short distance to check the reverse lights illuminate (white lights at the rear).
- Check the number plate light if your vehicle has one.
Red Flags to Watch For
- Any light that does not illuminate – replace the bulb; if a newly replaced bulb fails quickly, there may be a wiring or earth fault
- Headlight lenses that are severely yellowed or foggy – reduces effective light output significantly; can be polished or replaced
- Indicators that flash very rapidly – a bulb has failed on that circuit
All lights illuminate correctly. Indicators flash at an even rate on both sides. Lenses are clear, not yellowed.
6. Wiper Blades
Wiper Blades & Washer Fluid
~1 minute · Eyes and test activationIn western Kenya, wiper blades matter more than in many other regions. The long rains bring heavy, sustained rainfall that severely degrades visibility. Wiper blades that streak, skip, or chatter instead of clearing the screen cleanly are a significant safety risk. Blades also degrade faster in Kenya's heat and UV exposure, particularly if the vehicle is parked in direct sunlight.
How to Check
- Activate the windscreen washers and run the wipers at full speed. Observe whether the blades clear the screen cleanly or leave streaks and smears.
- Switch off and lift each wiper arm away from the screen carefully (they have a locking position at about 90 degrees). Run your finger along the rubber blade edge – it should feel smooth, not split, cracked, or hardened.
- Check the washer fluid reservoir (usually a translucent bottle with a windscreen symbol) and top up with water or washer fluid concentrate if low.
Red Flags to Watch For
- Streaking, skipping, or squeaking during operation – the blade rubber has hardened or split; replace the blade
- Rubber that is cracked or peeling away from the blade frame – replace immediately
- Washer jets that do not spray or spray in the wrong direction – blocked jets can often be cleared with a pin; misdirected jets can be repositioned
Blades clear the screen with a single clean sweep, no streaking. Rubber is smooth and flexible. Washers spray onto the screen correctly.
Wiper blades are inexpensive and easy to replace. Do not enter the rainy season on blades that are already streaking.
7. Battery Terminals
Battery Terminals
~1 minute · Eyes only (engine off)Battery terminal corrosion is one of the most common causes of hard starting and charging problems in Kenya. The corrosion appears as a white, grey, or blue-green crusty buildup around the terminal posts and clamps. It acts as a resistor in the circuit, reducing the current available to the starter motor and preventing the alternator from charging the battery efficiently.
How to Check
- Open the bonnet and locate the battery (usually near the front of the engine bay, occasionally in the boot on some vehicles).
- Look at both terminal posts (positive marked + and negative marked −) and the clamps attached to them.
- Note any white or coloured crusty deposits. Also check that the clamp bolts appear tight – you can gently try to twist the clamp by hand without tools; it should feel completely solid.
- If corrosion is present: with the engine off, mix a paste of baking soda and water, apply it to the deposits with an old toothbrush, allow it to bubble for a minute, then rinse with clean water. Dry the terminals and optionally apply a thin coat of petroleum jelly to slow future corrosion.
Red Flags to Watch For
- Heavy corrosion that has eaten into the cable or clamp – the component needs replacement, not just cleaning
- Terminal clamps that can be rotated by hand – the clamp bolt needs tightening
- Battery case that appears swollen or bulging – the battery has been overcharged or is failing; needs replacement
Both terminals are clean and free of white or coloured deposits. Clamps feel solid and cannot be rotated by hand. Battery case is undamaged and not swollen.
8. Accessory Belt Condition
Accessory Belt (Serpentine / Fan Belt)
~1 minute · Eyes only (engine off)The accessory belt (also called the serpentine belt or fan belt) drives the alternator, power steering pump, air conditioning compressor, and water pump from the engine's crankshaft. A broken or slipping belt stops all of these systems simultaneously, which means no battery charging, no power steering, no air conditioning, and in many cases no coolant circulation – leading to rapid overheating.
Belt failures are not always sudden. They degrade gradually, showing visible signs weeks before they break. This is one of the more technical-looking checks, but it only requires looking at the belt with the engine off.
How to Check
- Ensure the engine is completely off before inspecting the belt. Do not reach near a running engine.
- Locate the belt – it is a wide, flat or ribbed rubber belt that loops around multiple pulleys at the front of the engine. Many vehicles have a single serpentine belt; older ones may have two or three separate belts.
- With a torch if needed, examine the entire visible length of the belt for cracking, fraying, glazing (a shiny, hard surface), or missing chunks of rubber.
- Check the belt is correctly seated in the grooves of all pulleys it runs across – a belt that has ridden up slightly on a pulley indicates a tension or alignment issue.
Red Flags to Watch For
- Visible cracks across the ribs of the belt – it is approaching the end of its life and should be replaced at the next service or earlier
- Fraying at the belt edges – misalignment or pulley damage; needs workshop attention
- A squealing noise when the engine is running (particularly on cold starts or when the AC is switched on) – belt is slipping; book a workshop visit
- Any belt that appears shiny and hard rather than dull and flexible – glazed belt has lost grip; replace soon
Belt is seated correctly on all pulleys. Surface appears dull, not shiny. No visible cracks, fraying, or missing sections.
A belt that is cracking or glazed should be replaced at or before the next scheduled service – do not wait for it to break.
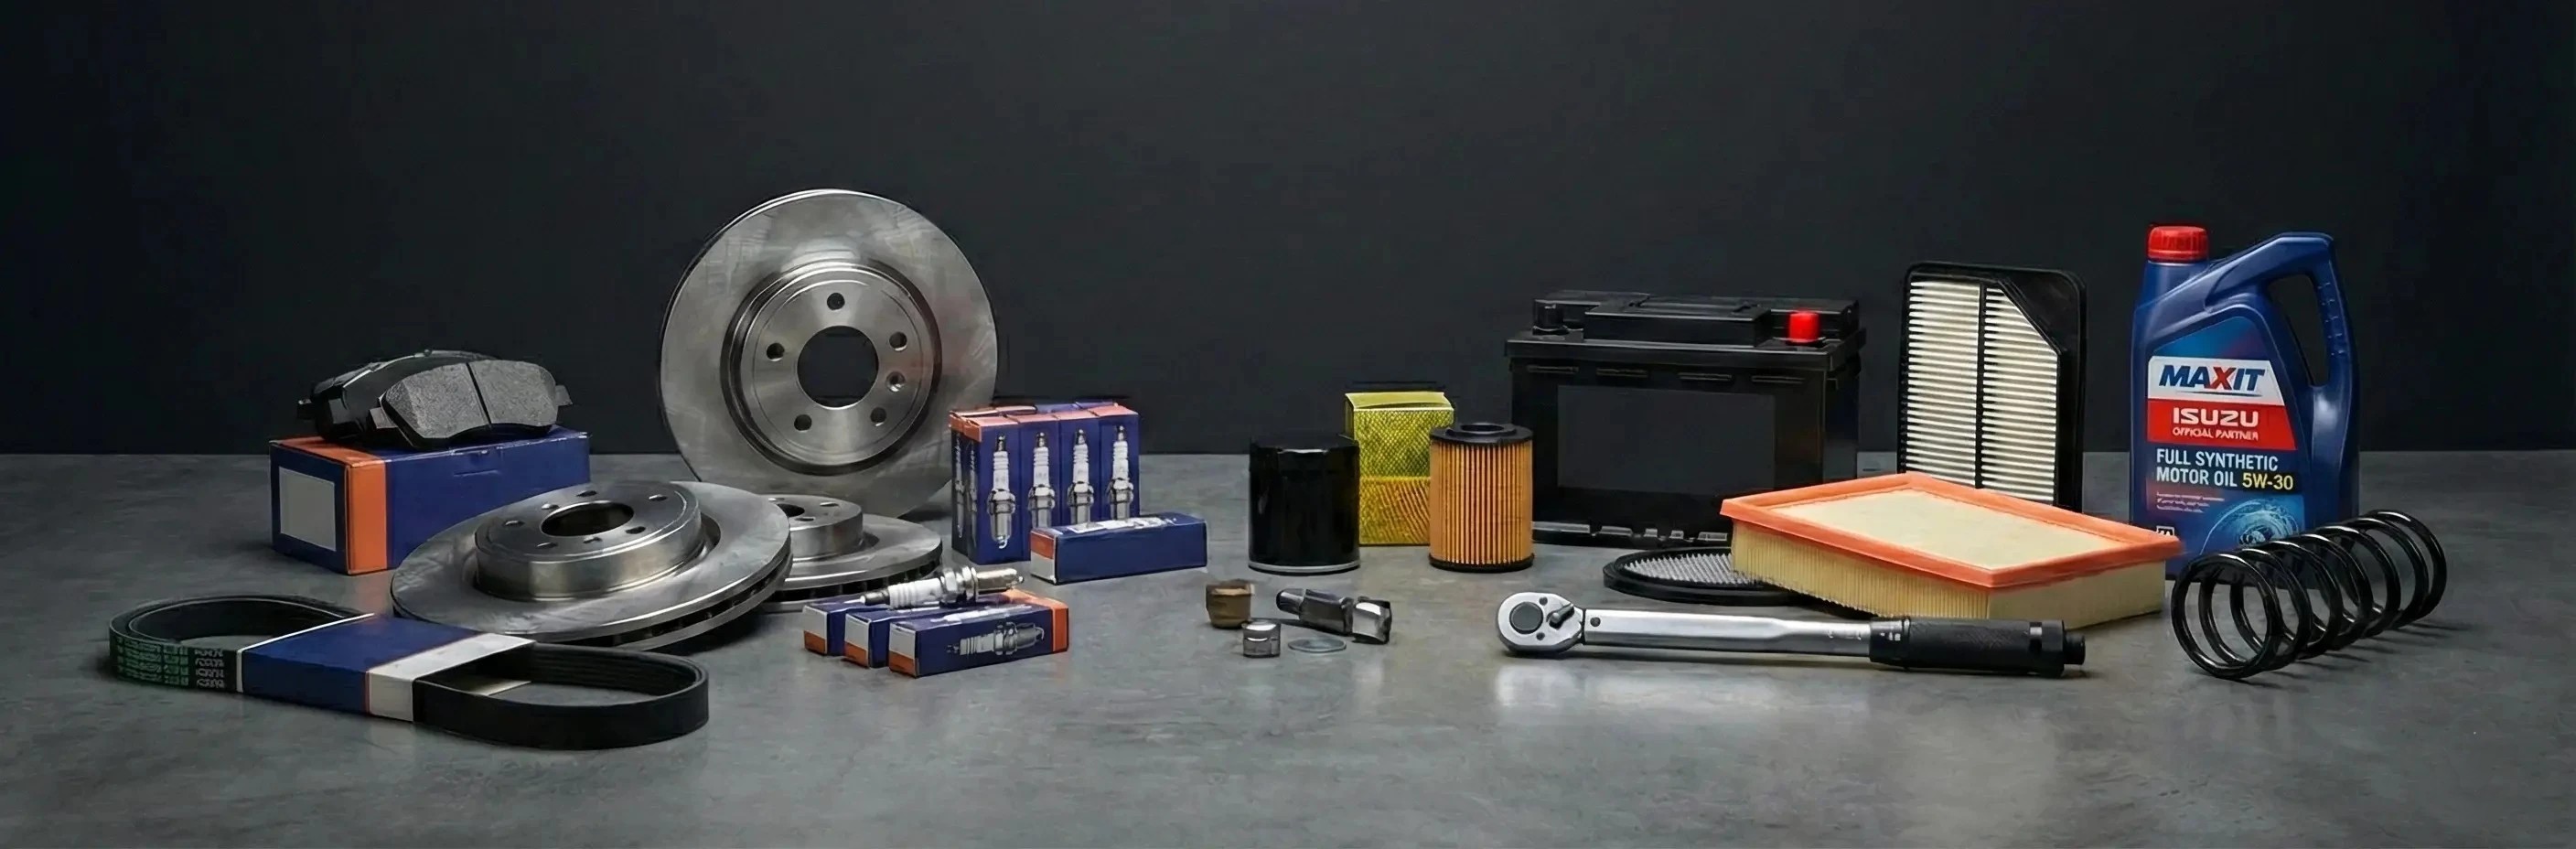
Quick Reference Summary
Use this table as your monthly checklist. Print it or save it to your phone so you can work through it quickly without returning to this article each time.
Your Monthly 10-Minute Vehicle Check
If all eight checks pass, you are done. If any check reveals something outside the normal range, you now know before it becomes an emergency. Top up fluids that are low, replace simple consumables like wiper blades yourself, and book a workshop visit for anything that needs professional attention. That is the entire system.
Found something during your check?
Call us before deciding whether it can wait. A five-minute conversation is always faster than an unexpected breakdown on a Kenyan road. If you need a same-day booking, we will do our best to fit you in.