Every year, without fail, the first week of the long rains brings a spike in workshop bookings. Not for rainy season prep – for the aftermath of not doing rainy season prep. Tyres that aquaplane on standing water because the tread was too low. Brakes that pull or fade because the pads were already at the limit. Electrical gremlins that appear after a flooded road crossing. Wipers that smear instead of clearing, causing a near-miss at night on the Migori–Kisii road.
None of these are unpredictable. All of them are preventable. The difference between a driver who goes through the long rains without incident and one who does not is almost always a one-hour inspection done a few weeks before the season begins.
This guide covers the seven checks our workshop recommends every driver carry out before the long rains. Some you can do yourself in a few minutes. Others are worth booking a professional inspection for. All of them matter more in western Kenya than the service interval schedule assumes.
Why the Long Rains Demand More from Your Vehicle
The Migori, Homa Bay, and Kisumu region receives between 1,200mm and 1,800mm of annual rainfall, with a significant proportion falling in the long rains between late March and June. This is not a gentle drizzle. It arrives in sustained, heavy downpours that reduce road visibility to near zero, turn murram roads into mud, flood low-lying sections of tarmac, and sit in standing water on surfaces that drain poorly.
Your braking distance on a wet road is roughly double what it is on dry tarmac at the same speed. Visibility through a streaking windscreen at night in rain is dramatically worse than daytime dry conditions. Standing water as shallow as 40mm is enough for a tyre with low tread to begin aquaplaning.
Standard service intervals – which are designed around average global driving conditions – do not account for this level of seasonal stress. Rainy season prep is the gap between what your last service covered and what the next three months actually require.
1. Wiper Blades & Washer System
Wiper Blades & Washer System
~2 minutes · Activate wipers with water on screenWipers are your most critical safety component in heavy rain, yet they are among the most neglected. In Kenya's heat and UV exposure, the rubber compound in wiper blades degrades even when the wipers are not in use. A blade that looked fine in January may streak badly by April. During the kind of sustained heavy downpour common to western Kenya, a streaking wiper is not a minor inconvenience – it is a genuine visibility emergency.
Wiper blades typically last 9 to 12 months in Kenya's climate. If you cannot remember the last time you replaced them, they need replacing.
How to Check
- Pour a small amount of water onto the windscreen. Activate the wipers at full speed and observe the result. The blades should clear the screen completely in a single sweep, leaving no streaks, smears, or dry patches.
- Switch off the wipers. Carefully lift each wiper arm away from the screen to the service position (approximately 90 degrees, where it locks). Run your finger along the full length of the rubber blade edge. It should feel smooth and slightly flexible, not hard, cracked, or ridged.
- Check the washer fluid reservoir and top up with clean water or washer concentrate if low.
- Activate the washers and check that all jets spray onto the windscreen correctly and at adequate pressure. Blocked jets can be cleared with a fine pin.
- If your vehicle has a rear wiper, check and test it as well.
Red Flags to Watch For
- Any streaking, smearing, or skipping during the test – replace the blades immediately; this will not improve in heavier rain
- Rubber that is cracked, peeling, or hardened to the touch – replace before the rains even if it appears to clear adequately at low speed
- A wiper arm that sits away from the screen rather than resting flat against the glass – the spring tension is failing; the arm needs replacement or adjustment
- Washer jets that do not activate or spray off-screen – clean blockages or realign jets
Blades clear the screen completely in a single sweep with no streaking. Rubber is smooth and flexible. Both washer jets spray correctly onto the screen.
Wiper blades cost between Ksh 800 and Ksh 2,500 per pair and take five minutes to replace. There is no reason to enter the rainy season on degraded blades.
2. Tyre Tread & Wet-Weather Pressure
Tyre Tread & Wet-Weather Pressure
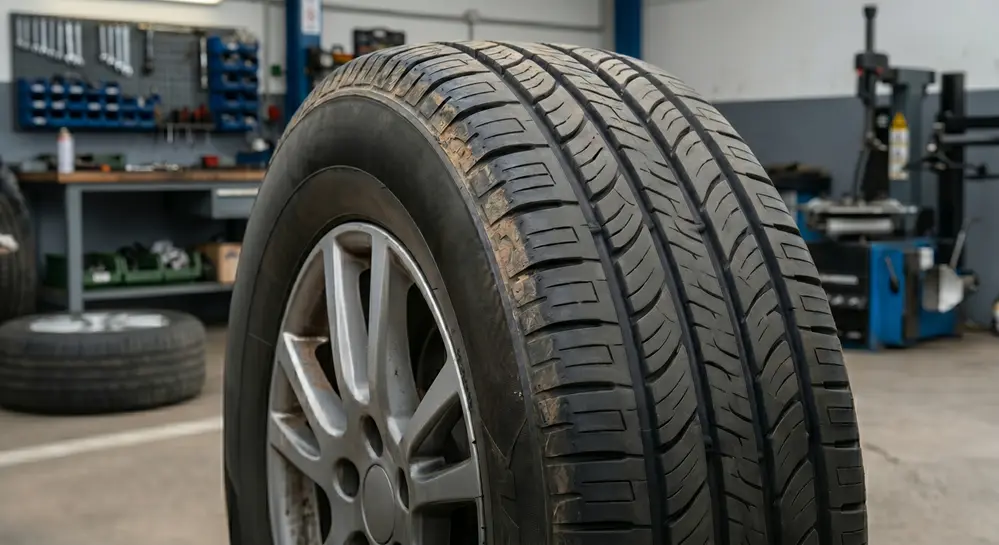
~3 minutes · Tyre pressure gauge requiredTyre tread is what expels water from beneath the contact patch and keeps the rubber in contact with the road. Below a certain depth, the tread channels cannot move water fast enough, the tyre rides on a film of water rather than the road surface, and the driver loses steering and braking control – this is aquaplaning, and it happens suddenly and without warning.
On western Kenya's roads during the long rains – standing water on tarmac, wet murram, flooded crossings – a tyre that is marginal in dry conditions becomes genuinely dangerous. The legal minimum tread depth is 1.6mm; our workshop recommends treating 3mm as your pre-rains replacement threshold.
How to Check
- Check tread depth across all four tyres using a tread depth gauge (available at most auto parts shops for under Ksh 400). Insert the probe into the main tread groove at three points across the tyre width – inner edge, centre, and outer edge.
- If you do not have a gauge, use the matchstick test: insert a matchstick into the groove with the head pointing inward. If the match head is clearly visible above the groove, the tread is at or near the legal limit. For the rainy season, you want the match head to disappear entirely.
- Check the tyre pressure against the door jamb specification with a cold tyre. Some drivers reduce pressure slightly for soft murram driving – this is appropriate for off-road use but always restore to the recommended road pressure before returning to tarmac, particularly in wet conditions where handling precision matters.
- Inspect each tyre sidewall for cracks, bulges, or cuts from kerb strikes or road debris.
Red Flags to Watch For
- Any tyre at or below 3mm heading into the rains – budget for replacement before the season begins, not during
- Uneven wear across the tyre width – indicates alignment or pressure issues that also affect wet-weather handling; have alignment checked
- Sidewall bulges or visible cord showing through the rubber – tyre must be replaced immediately; do not drive on it
- Mixed tyre types on the same axle – handling becomes unpredictable in wet conditions; tyres should be matched in pairs at minimum, ideally all four
All four tyres show at least 3mm tread across the full width. Pressure matches the door jamb specification. Sidewalls are undamaged.
Tyres below 3mm entering the rainy season are a risk not worth taking. The cost of two new tyres is a fraction of what a wet-road incident costs.
3. Brakes
Brakes – Pads, Fluid & Discs
~Workshop inspection recommendedBraking distance increases significantly on wet road surfaces. A vehicle that stops in 35 metres at 60km/h on dry tarmac may require 60 metres or more on a wet surface under the same conditions. If your brake pads are worn, your brake fluid is contaminated, or your discs are worn below specification, that already-increased stopping distance gets longer still.
Kenya's roads – particularly murram tracks and the dusty, stone-strewn surfaces around Migori – are hard on brake components. Dust and grit infiltrate brake assemblies and accelerate pad and disc wear. Brake fluid also absorbs moisture from the atmosphere over time, lowering its boiling point and making it less effective under the heat generated by braking on long descents.
What to Check Yourself
- Check the brake fluid reservoir (small translucent bottle near the driver's side firewall, labelled with a circle-and-exclamation symbol). The level should sit between the MIN and MAX marks. Low fluid means worn pads or a leak – either requires investigation.
- Observe the colour of the fluid through the reservoir. It should appear clear to light amber. Dark brown or black fluid is moisture-contaminated and is overdue for a change – degraded brake fluid reduces braking effectiveness, particularly on sustained descents.
- Apply the brake pedal firmly with the engine running. It should feel solid and resist with consistent force. A pedal that slowly sinks toward the floor, or one that feels spongy rather than firm, indicates air in the hydraulic system and requires immediate workshop attention.
- During a low-speed test stop in a clear area, note whether the vehicle stops in a straight line or pulls to one side. Pulling indicates uneven brake force and needs inspection.
Book a Workshop Inspection If
- You hear grinding or a consistent high-pitched squealing when braking – pad wear indicators are active; pads need replacement
- The brake pedal feels spongy, low, or sinks under steady pressure
- The vehicle pulls to one side when braking
- You feel vibration through the pedal or steering wheel during braking – warped discs; needs professional assessment
- It has been more than two years or 40,000km since the brake fluid was last changed
Brake fluid between MIN and MAX, clear to amber in colour. Pedal feels firm and consistent. Vehicle stops straight. No squealing, grinding, or vibration.
Brakes that are marginal on dry roads will fail you on wet ones. If anything above gives you doubt, book an inspection before the season begins.
4. Exterior Lights & Visibility
Exterior Lights & Visibility
~2 minutes · Another person or a wall helpsDuring heavy rain, visibility can drop to 30 to 50 metres even in daylight. At night in rain, a vehicle with a failed headlight, missing tail light, or foggy lens is almost invisible to oncoming drivers until it is dangerously close. Kenya's roads outside urban areas have no street lighting, which makes functioning exterior lights not a legal requirement but a genuine survival mechanism.
How to Check
- Switch on headlights and walk around all four corners. Verify main beam, dipped beam, and side lights on both sides.
- Activate hazard lights and check that all four indicators flash at the same rate. A noticeably faster flash on one side indicates a blown bulb on that circuit.
- Ask someone to stand behind the vehicle while you press the brake pedal. Verify both brake lights illuminate. Alternatively reverse toward a wall and check the reflection.
- Check reverse lights by reversing a short distance.
- If your vehicle has front or rear fog lights, test these specifically – they are most useful in exactly the conditions the rainy season brings.
- Inspect the headlight and tail light lenses. Severely yellowed or milky headlight lenses scatter rather than project light, reducing effective illumination range by 50% or more. This can be polished out or the lens replaced.
Red Flags to Watch For
- Any light that fails to illuminate – replace the bulb; if a new bulb fails shortly after, there is a wiring or earth fault
- Headlight lenses with heavy yellowing or internal condensation – significantly reduced light output; address before the rains
- Indicators that flash at double speed – a bulb has blown on that circuit
- Brake lights that only work on one side – the other side has a blown bulb; oncoming drivers behind you cannot judge your braking
All lights function correctly. Lenses are clear and undamaged. Indicators flash at equal rates on both sides.
Bulb replacements cost between Ksh 200 and Ksh 800. Foggy headlight lenses can often be restored with a polish kit. These are not items to defer.
5. Underbody Seals & Drainage Points
Underbody Seals & Drainage Points
~Workshop visual inspection recommendedVehicles in western Kenya face significant underbody exposure – murram dust that carries fine abrasive particles, the occasional flooded crossing, and in some areas, soil with high salt content from certain rock formations. Over time, the protective underseal coating applied at the factory degrades, exposing bare metal to moisture and accelerating rust. Once structural corrosion begins, it is expensive to reverse.
The rainy season accelerates underbody deterioration. Checking seals and drainage before the rains begin is far cheaper than treating the corrosion that follows a season of sustained water exposure on unprotected metal.
What to Look For
- With the vehicle safely raised on a ramp or inspected from below (a slope or drop can provide a view underneath), check the visible underseal coating for areas where it has cracked, peeled away, or shows orange rust bleed-through.
- Check the sill drainage holes – the small holes punched into the bottom of door sills and body seams that allow water to escape from inside the sill channels. These frequently block with mud and debris in Kenyan conditions. Clear them with a thin wire or screwdriver. Blocked sills collect water and rust from the inside out, invisibly.
- Check door seals – the rubber strips around the edges of doors, boot lid, and bonnet. Press the door shut and look for gaps or daylight. Damaged door seals allow water to leak into the cabin and onto carpet, which leads to hidden floor pan rust over time.
- Inspect any visible brake lines and fuel lines running along the underside for surface rust or corrosion at the fittings.
Red Flags to Watch For
- Large areas of bare metal visible beneath the vehicle – needs underseal application before the rains
- Rust bubbling through the vehicle's paintwork at sill level or below doors – indicates sill drainage blockage and hidden corrosion; needs inspection
- Door seals that are cracked, perished, or have sections missing – replace to keep cabin dry
- Surface rust on brake lines – minor surface rust is normal; deep pitting or visible corrosion at fittings warrants a professional assessment
Underseal is largely intact with no significant bare metal patches. Sill drainage holes are clear. Door and boot seals seat cleanly with no visible gaps.
Underseal application is straightforward and inexpensive. Treating rust once it is established in structural panels is not. Address bare metal areas before the season begins.
6. Earth Strap & Exposed Electrical Connections
Earth Strap & Exposed Electrical Connections
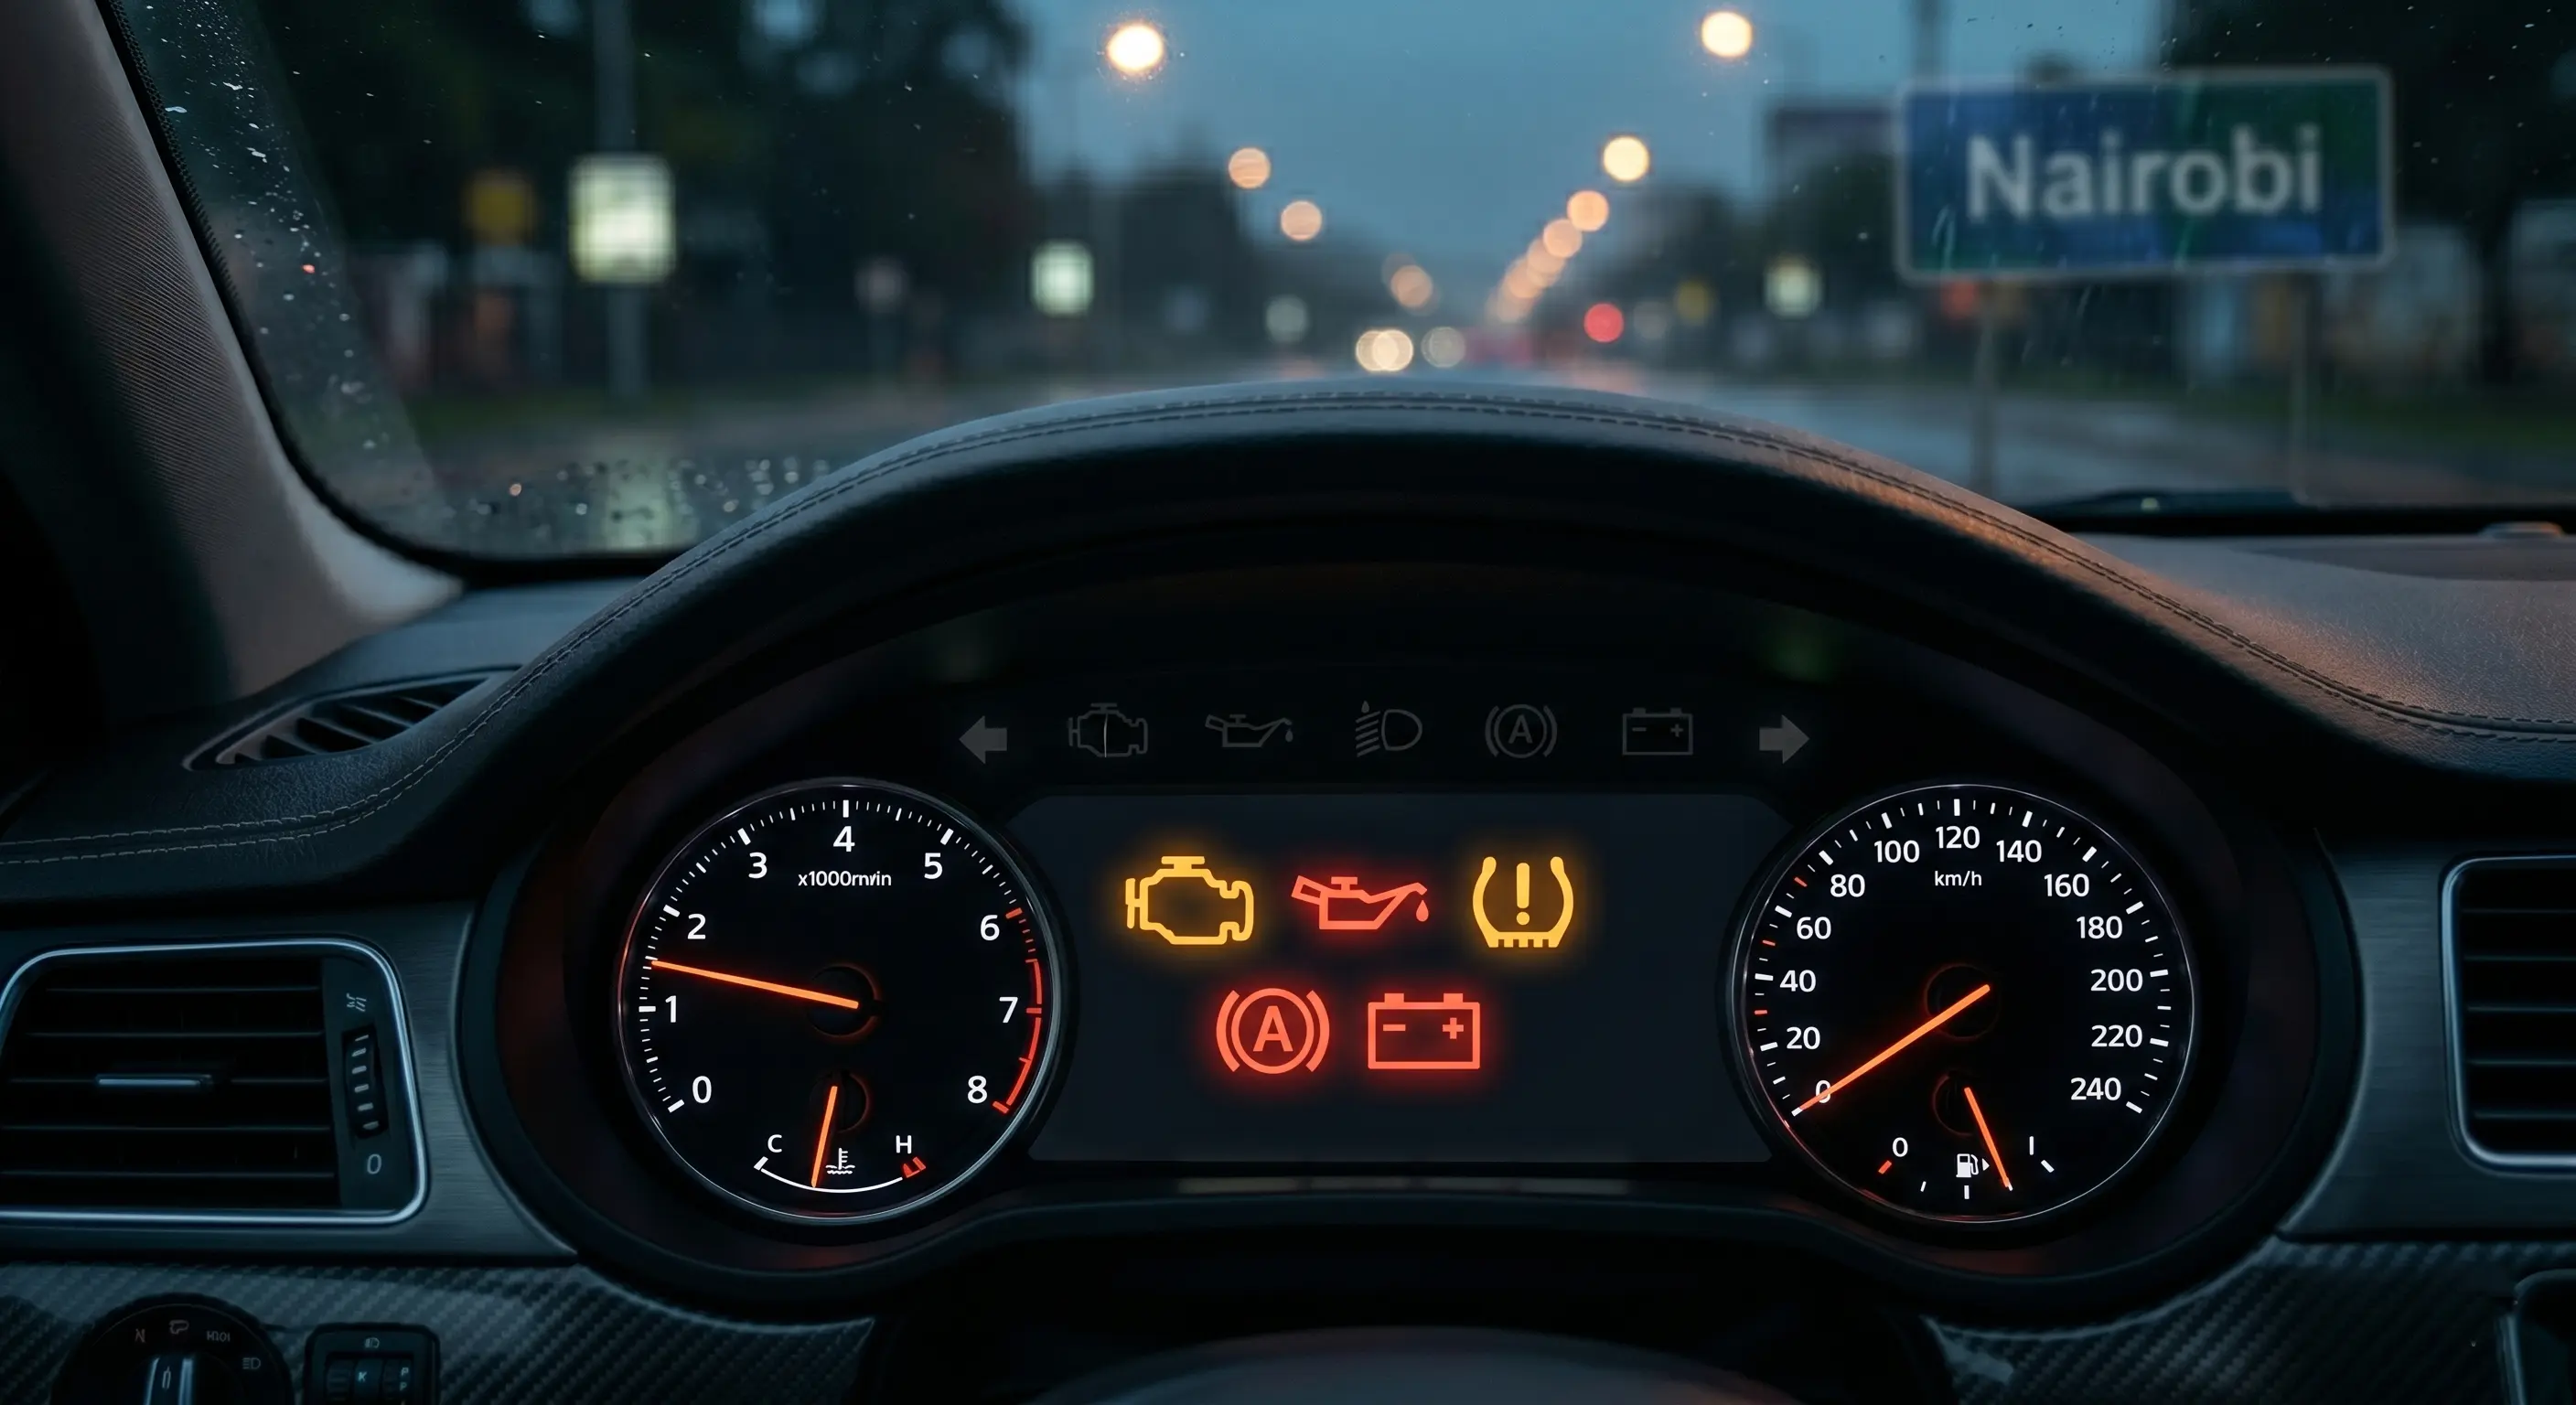
~2 minutes · Engine off, eyes onlyThis is the check most drivers forget, and the one that explains many of the electrical faults that mysteriously appear after the first few weeks of rain. The earth strap – also called the ground strap – is a short braided metal cable that runs from the engine block (or gearbox) to the vehicle's chassis. It completes the return path of the entire vehicle's electrical circuit.
Without a good earth strap, current cannot return to the battery efficiently. The result is a wide range of intermittent faults: hard starting, charging problems, erratic instrument readings, random warning lights, stereo cutouts, and sensors producing incorrect values. These symptoms are frustrating to diagnose because they are inconsistent – and they become dramatically worse when water gets into the equation, as it does during the long rains.
How to Check
- With the engine off, locate the earth strap. In most vehicles it runs from the negative terminal of the battery to the chassis, and there may be a second strap from the engine block to the chassis. It looks like a flat braided metal cable, typically 15 to 30cm long, with bolted connections at each end.
- Inspect the cable itself for fraying, corrosion, or broken strands. The cable should be solid with no visible individual strands broken away.
- Check both bolted connection points. The bolt should be tight, and the contact surface should be clean metal with no white corrosion residue.
- While in the engine bay, look for any other electrical connectors that appear to have exposed bare wire, cracked insulation, or corrosion around the connector bodies – particularly sensor connectors near the bottom of the engine bay where water accumulates.
Red Flags to Watch For
- A frayed or partially broken earth strap – replace immediately; this is a cheap part and takes minutes to replace
- Heavy white corrosion at the strap connection bolts – remove, clean with a wire brush, apply copper grease, and re-torque
- Any connector with cracked or brittle insulation near water exposure points – wrap with self-amalgamating tape or have the connector replaced
- A history of intermittent electrical faults with no clear diagnosis – an earth strap check should be among the first things investigated
Earth strap is intact with no broken strands. Both connection bolts are tight and show clean metal contact. No visibly cracked or corroded connectors in the engine bay.
Earth straps cost between Ksh 400 and Ksh 1,200 and take under ten minutes to replace. If yours is degraded, sort it before the rains – electrical faults that begin in wet conditions are significantly harder to diagnose and repair mid-season.
7. Cabin Drainage & Interior Weather Seals
Cabin Drainage & Interior Weather Seals
~3 minutes · Eyes, hands, and a bucket of waterWater getting inside the cabin during the rainy season causes problems that take months to fully manifest: damp carpets, mould growth, corrosion on the floor pan beneath the carpet, and moisture reaching under-seat electronics (particularly in newer vehicles with seat adjustment modules, airbag sensors, and audio amplifiers mounted beneath the seats). By the time a driver notices the problem, the damage is already done.
Cabin water ingress is preventable. The entry points are almost always the same: door seals, sunroof drainage channels, cabin air vent drains, and the fresh air intake plenum at the base of the windscreen.
How to Check
- Close all doors and slowly pour a small amount of water around each door frame from outside. Have someone inside the vehicle watching for any drips at the base of the door or along the window glass. A small drip at the very bottom of the door frame is often normal drainage; water running onto carpet or the sill interior is not.
- If your vehicle has a sunroof, pour water onto it and observe whether the drain channels carry it away cleanly. Sunroof drains exit at the A-pillars and C-pillars; if water appears inside the cabin at these points, the drain tubes are blocked. They can be cleared with a flexible airline or thin cable.
- Check the cabin air intake area at the base of the windscreen (the scuttle panel). This area commonly collects leaves and debris in areas with significant tree coverage. If it blocks, water backs up and can enter the cabin through the heating and ventilation intake. Clear any debris.
- Lift the floor carpets at the front and check for any damp or rust staining on the floor pan. If the floor is already damp, the ingress point needs finding and sealing before the rains arrive.
Red Flags to Watch For
- Any water appearing on interior carpet during the door seal test – the door seal needs replacing or re-seating
- Damp or musty smell inside the cabin, particularly after rain – water is already entering; find and seal the source
- Rust staining or damp floor pans beneath the carpet – the ingress has been occurring for some time; address immediately and assess whether structural corrosion has begun
- Blocked scuttle drain or sunroof drain tubes – clear before the season to prevent backup flooding
No water ingress during door seal test. Drain channels flow freely. Scuttle area is clear. Floor pans are dry with no rust staining.
A damp cabin is more than a comfort issue. Electronics, airbag components, and structural metal all degrade with water exposure. Seal ingress points before the rains make the problem permanent.
A Note on Flooded Roads
Moving water at shin height can push a 2-tonne vehicle off course. Diesel engines can suffer catastrophic hydro-lock if water is ingested through the air intake – an expensive repair that is not covered by most vehicle warranties. If you cannot see the road surface clearly through the water, do not attempt the crossing. Wait for the water to recede, take an alternative route, or call for assistance.
If you do cross shallow standing water, observe these steps immediately afterward: drive slowly with light brake application for the first hundred metres to clear water from the brake components and restore braking feel. Listen for any unusual sounds from the wheels, differential, or transmission. Check for any new warning lights on the instrument cluster. If anything seems different from before the crossing, pull over safely and assess before continuing.
Vehicles that regularly cross flooded sections should have their differential breather tubes inspected and potentially extended. When a differential or gearbox is submerged, cool water can be drawn in through the breather if the fluid inside is cooler than the surrounding water, resulting in water contamination of the gear oil. This is a common failure mode in the region and worth discussing with your workshop if you regularly drive routes with seasonal flooding.
Pre-Rains Checklist Summary
Use this as your before-the-rains reference. Work through each item in the order listed. Items marked as requiring a workshop visit can be bundled into a single pre-season service booking.
Rainy Season Vehicle Prep – Western Kenya
The DIY items on this list take under fifteen minutes in total. The items requiring a workshop visit can be grouped into a single pre-season inspection booking. If you are booking in during February or early March, mention that you want a rainy season prep check – any competent workshop will know what that means and what to prioritise.
Book Your Pre-Rains Inspection
We offer a combined pre-season check covering brakes, underbody, and the electrical inspection most workshops overlook. Get booked before March fills up – we see high demand in the two weeks before the long rains arrive.